Resource Guide
How We Coat a Floor, Step by Step
A coating lasts because of what happens before the color goes down. Here is exactly how we install every floor, and why each step matters.
The Six Steps
- Diamond-grind. We grind the slab to a CSP 1 to 3 profile so the coating keys mechanically into the concrete instead of sitting on top. Prep is the number-one reason a coating lasts or peels.
- Repair. We chase and fill cracks, patch spalls and rebuild pop-outs, the freeze-thaw damage road salt and trapped moisture leave behind, so the finish goes over sound concrete.
- Moisture-test and prime. We run a calcium-chloride test (ASTM F1869) or an in-slab humidity probe (ASTM F2170). A reading over about 3 pounds per 1,000 square feet, or humidity above 75 to 80 percent, gets a vapor-mitigation primer first.
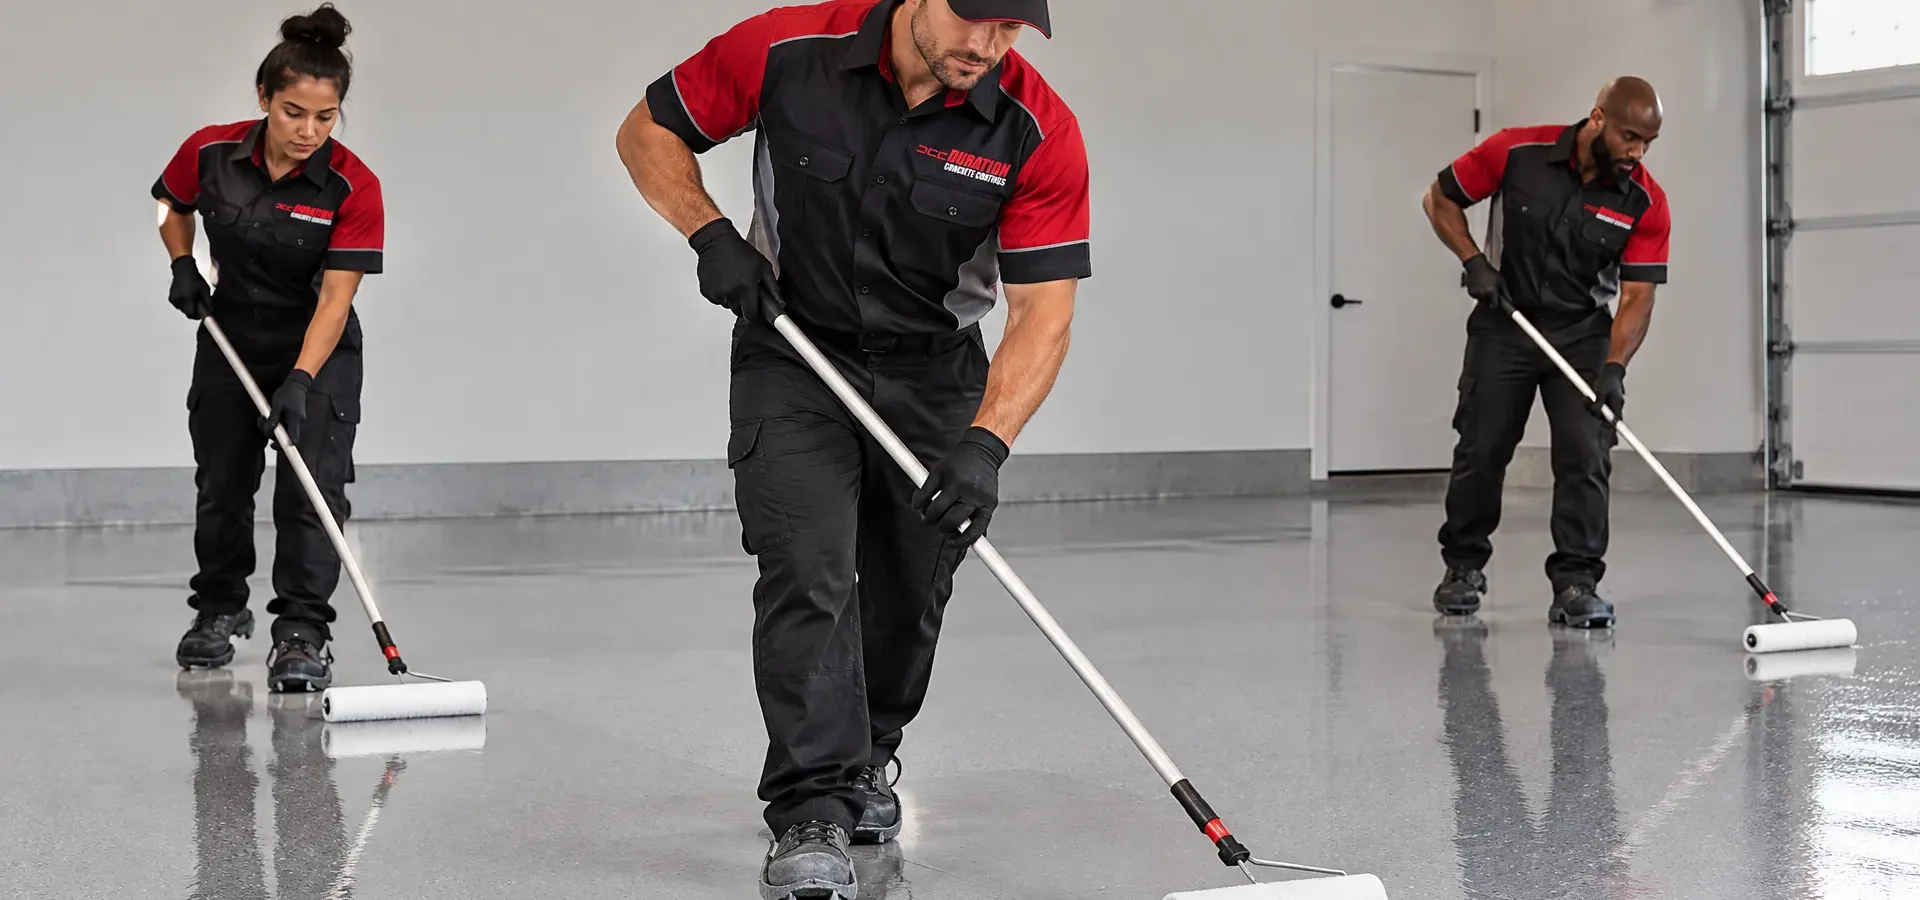
- Base coat. We apply the Duralast base, the foundation of the system.
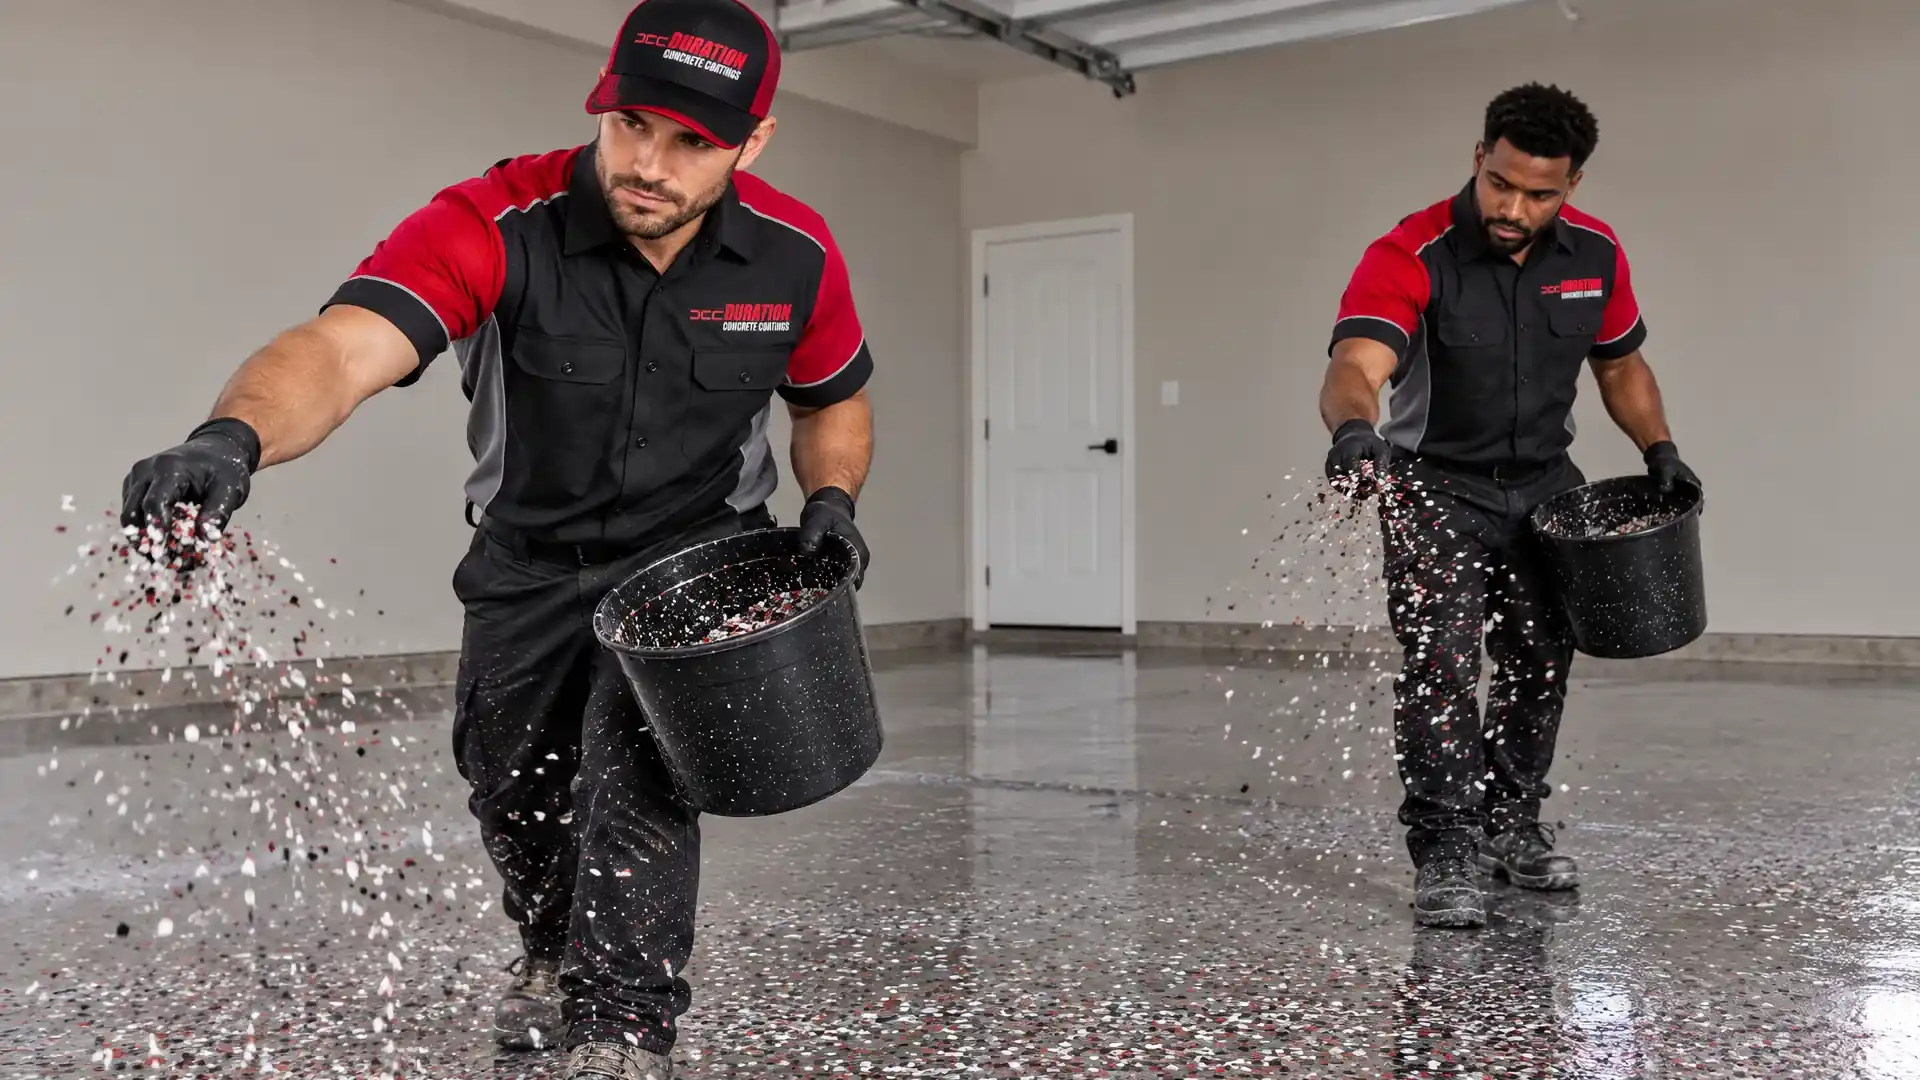
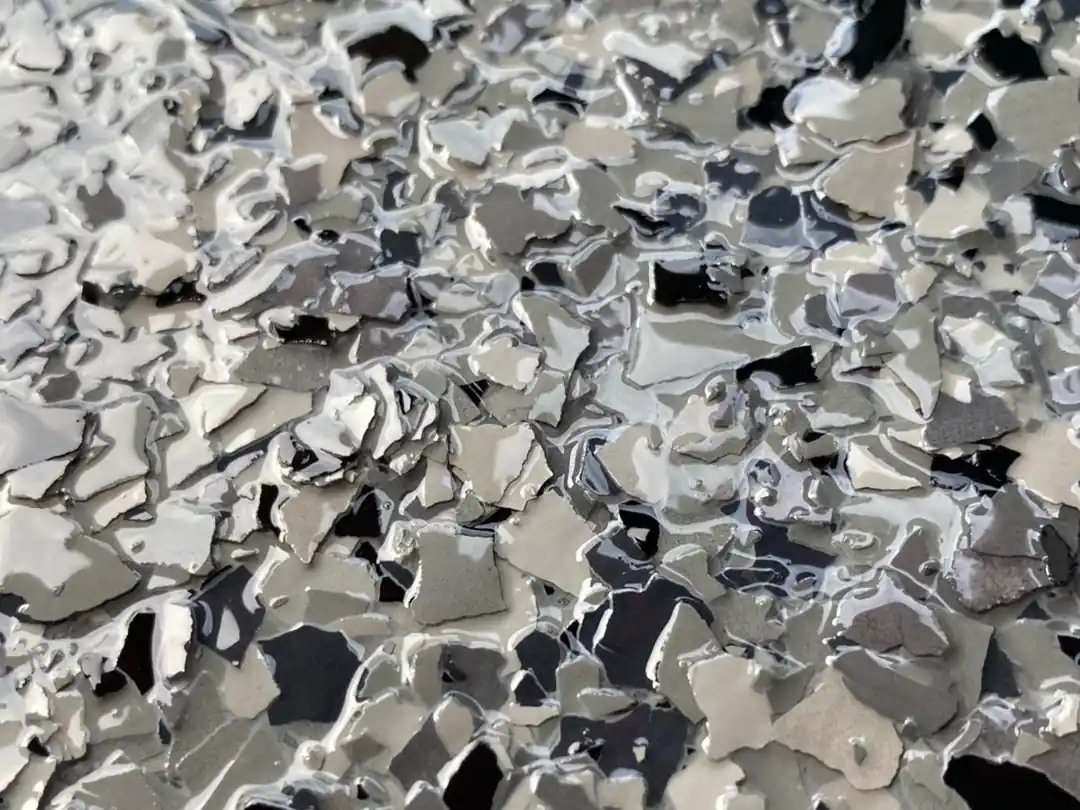
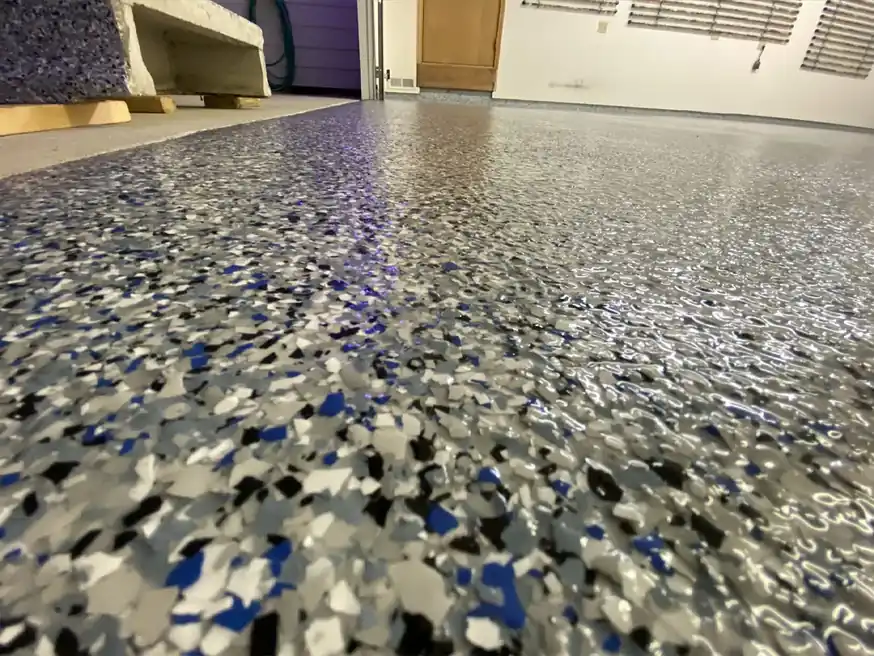
- Broadcast chips. We broadcast your chosen chip or flake blend into the base for color, texture and grip. There are well over a thousand combinations.
- Clear topcoat and walkthrough. We seal it with the UV-stable clear topcoat, then inspect the floor and walk it with you.
How Long It Takes
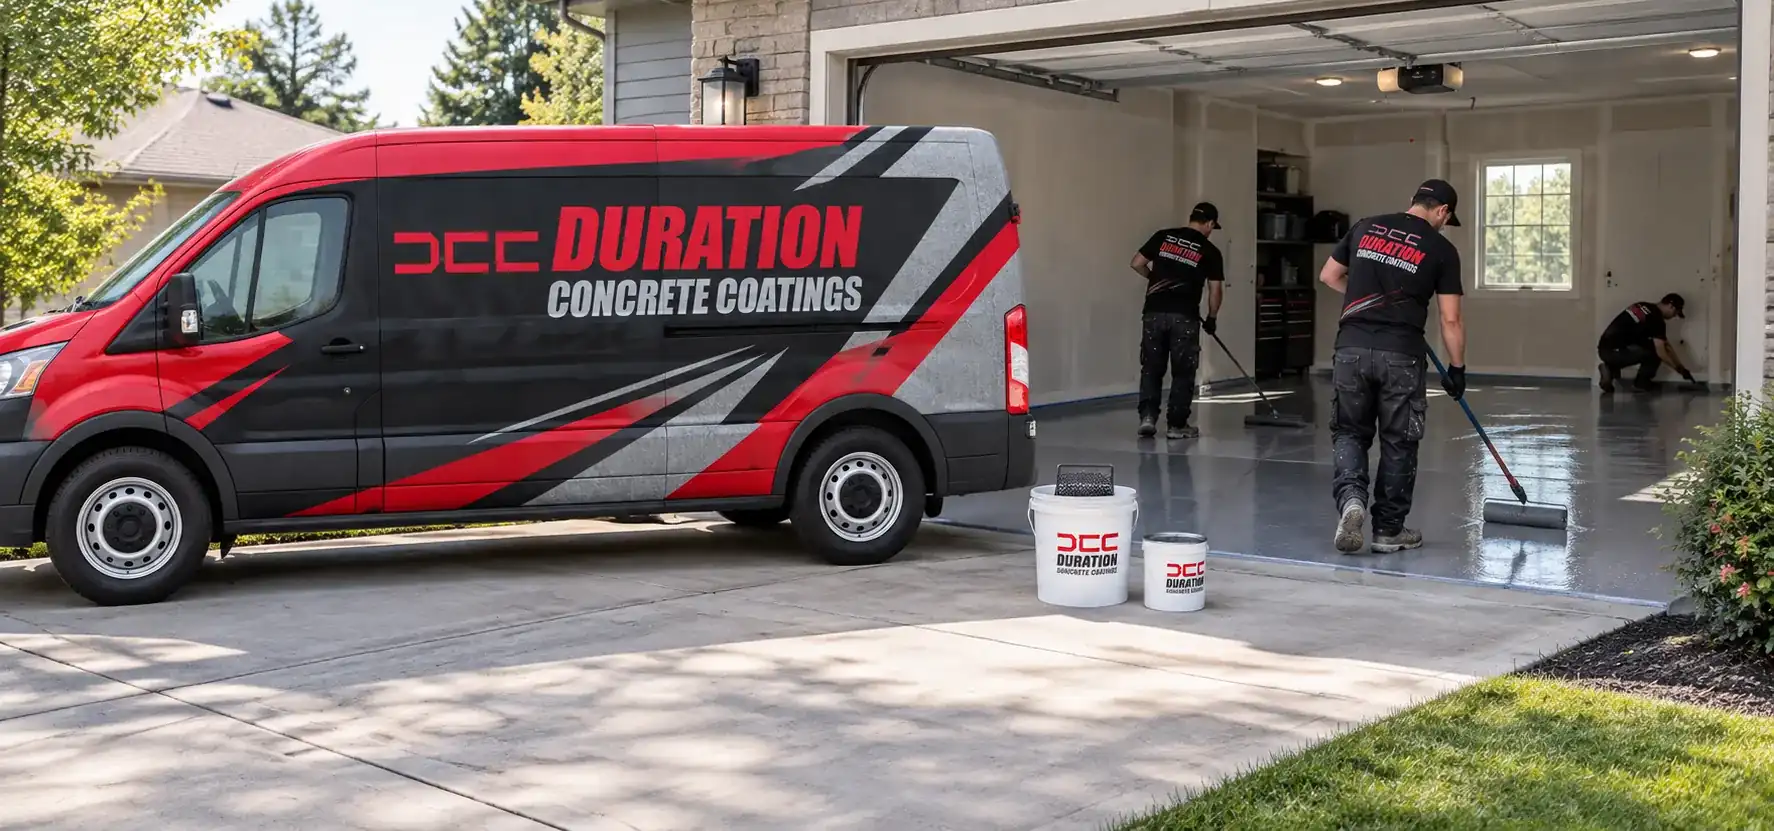
Most floors are a one-day install. The Duralast polyaspartic cures fast: walk-ready in about 24 hours, heavy objects at about 48 hours, and vehicle traffic at about 72 hours. Because it cures in hours rather than days, we can finish a garage in a single visit and you are using it the next day.
Why This Order Matters
Skip the grind and the coating peels. Skip the repair and the old cracks telegraph through. Skip the moisture test and vapor blisters the floor months later. The sequence is not padding, it is the difference between a coating that lasts and a bargain job that fails in two winters. (See the coating services we install and the Duralast technology)